Fancy a masterclass on going tubeless? Then listen up! Let Ben Deakin, aka Deakinator, show you the ropes from start to finish with our Tubeless Setup Kit.
Watch a masterclass from the man himself
Here's what you'll need
- Glue & Sealant Remover
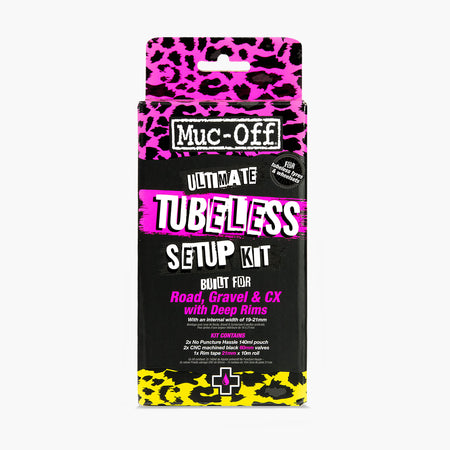
- Ultimate Tubeless Setup Kit
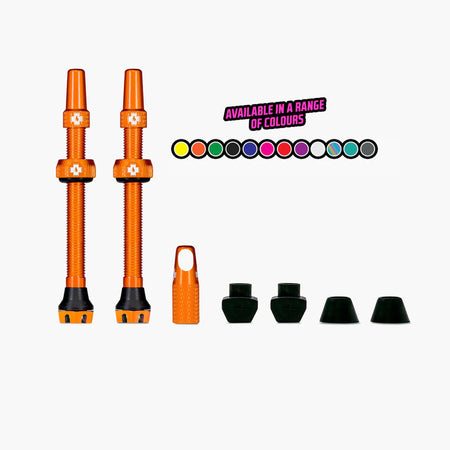
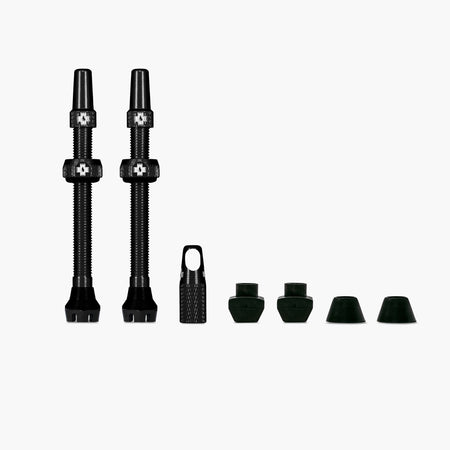
- All-New Tubeless Valves (if you fancy adding some extra bling)
- CO2 Inflator / Pump
How to setup your new tubeless tyres
- STEP 1: Remove all old rim strip or tape and clean rim.
- STEP 2: Make sure the rim is clean and dry before applying tape.
- STEP 3: Get the tape from the packet and line it up from the opposite side of the valve.
- STEP 4: Start by unwinding a small amount of the tape and pressing it down using your thumb or finger to hold pressure down.
- STEP 5: Continue to hold while you pull back on the tape and stick down tight once you have a few cm on the tape will stick and holding is no longer needed.
- STEP 6: Continue the entire way around the rim (if it has a big concave in you can pull and wiggle the tape to fill any edges)
- STEP 7: Overlap the tape by roughly 10 – 15cm
- STEP 8: Leave a small amount unstuck so that you can cut the remainder off
- STEP 9: Once cut sketch and pull the tape down to create a seal
- STEP 10: Go around the rim with your thumb to make sure there is no air pockets or messed areas.
- STEP 11: Once your happy with how it looks using a small pin locate the valve hole and cleanly pierce the tape ready for the valve
- STEP 12: Grab your tubeless valve and remove the lock ring and o ring
- STEP 13: Chose the right rubber fitment for your rim tape and insert valve into rim
- STEP 14: Refit O-ring and Lock ring making sure you lock the valve in (don’t go to tight or could damage the rubber)
- STEP 15: Re-fit your tyre of choice carful not to damage the tape (by using tyre levers)
- STEP 16: Inflate tyre to create a fit (should hear some popping around the rim)
- STEP 17: Release Air and remove valve core using the spare valve cap
- STEP 18: Grab the sealant pouch and give it a shake
- STEP 19: Unscrew the cap and fit on the valve in a up right position
- STEP 20: While holding the pouch spin the wheel downward so that the pouch is now upside down
- STEP 21: Insert the sealant by rolling the pouch down
- STEP 22: Spin wheel back up right and remove pouch
- STEP 23: Reinsert valve core and inflate to your pressure